
I bike everywhere. To stay safe on a bike is a tricky proposition. Obeying the rules of the road and wearing a helmet with a rear view mirror is only the beginning. The problem these days is that there are a LOT of drivers who forget that their primary task is to control their vehicle. These drivers find it more important to apply makeup, text, or add the mayo to their sandwich than to drive. There are also just aggressive drivers who are willing to risk my life to save 10 seconds by doing unsafe passing or running stop lights. Protecting myself against these people is the purpose of this DIY project using off the shelf components.
SPECIFICATIONS OF THE “SCOOBY-LIGHT 5000”
- Blinding bright daytime flash lights both front and back
- Loop recording security camera, both front and back
- 12 hour battery life on high, 24 hour battery life on flash
- One battery powers everything
- Total cost under $200
- Quickly mounts and dismounts
At this point, a lot of you will start suggesting that I buy two GoPros, a head light and a flashing tail light. I have these and I do not use them, here is why this solution is unacceptable:
- Even with extended battery backs, GoPros will not last one single bike ride. When I bike, I want to bike and I dont want to have to set a timer to stop after 70 minutes and spend 5 minutes sitting on the side of a busy road replacing four batteries on two cameras in the dark.
- Bike lights have marginal battery capacity and their battery life is always way over-stated. Its really difficult to find a headlight that will last even 5 hours on high. Unless you charge them every single ride, either the tail light or the head light is likely to run out of juice during the ride.
- Its such a pain to charge 4 GoPro batteries, a headlight, and a tail light that I simply didnt bother doing it any more despite having all the equipment.
- When you run errands, if you leave the cameras and lights on the bike then they get stolen. To take them off requires removing four separate things, a royal pain in the butt.
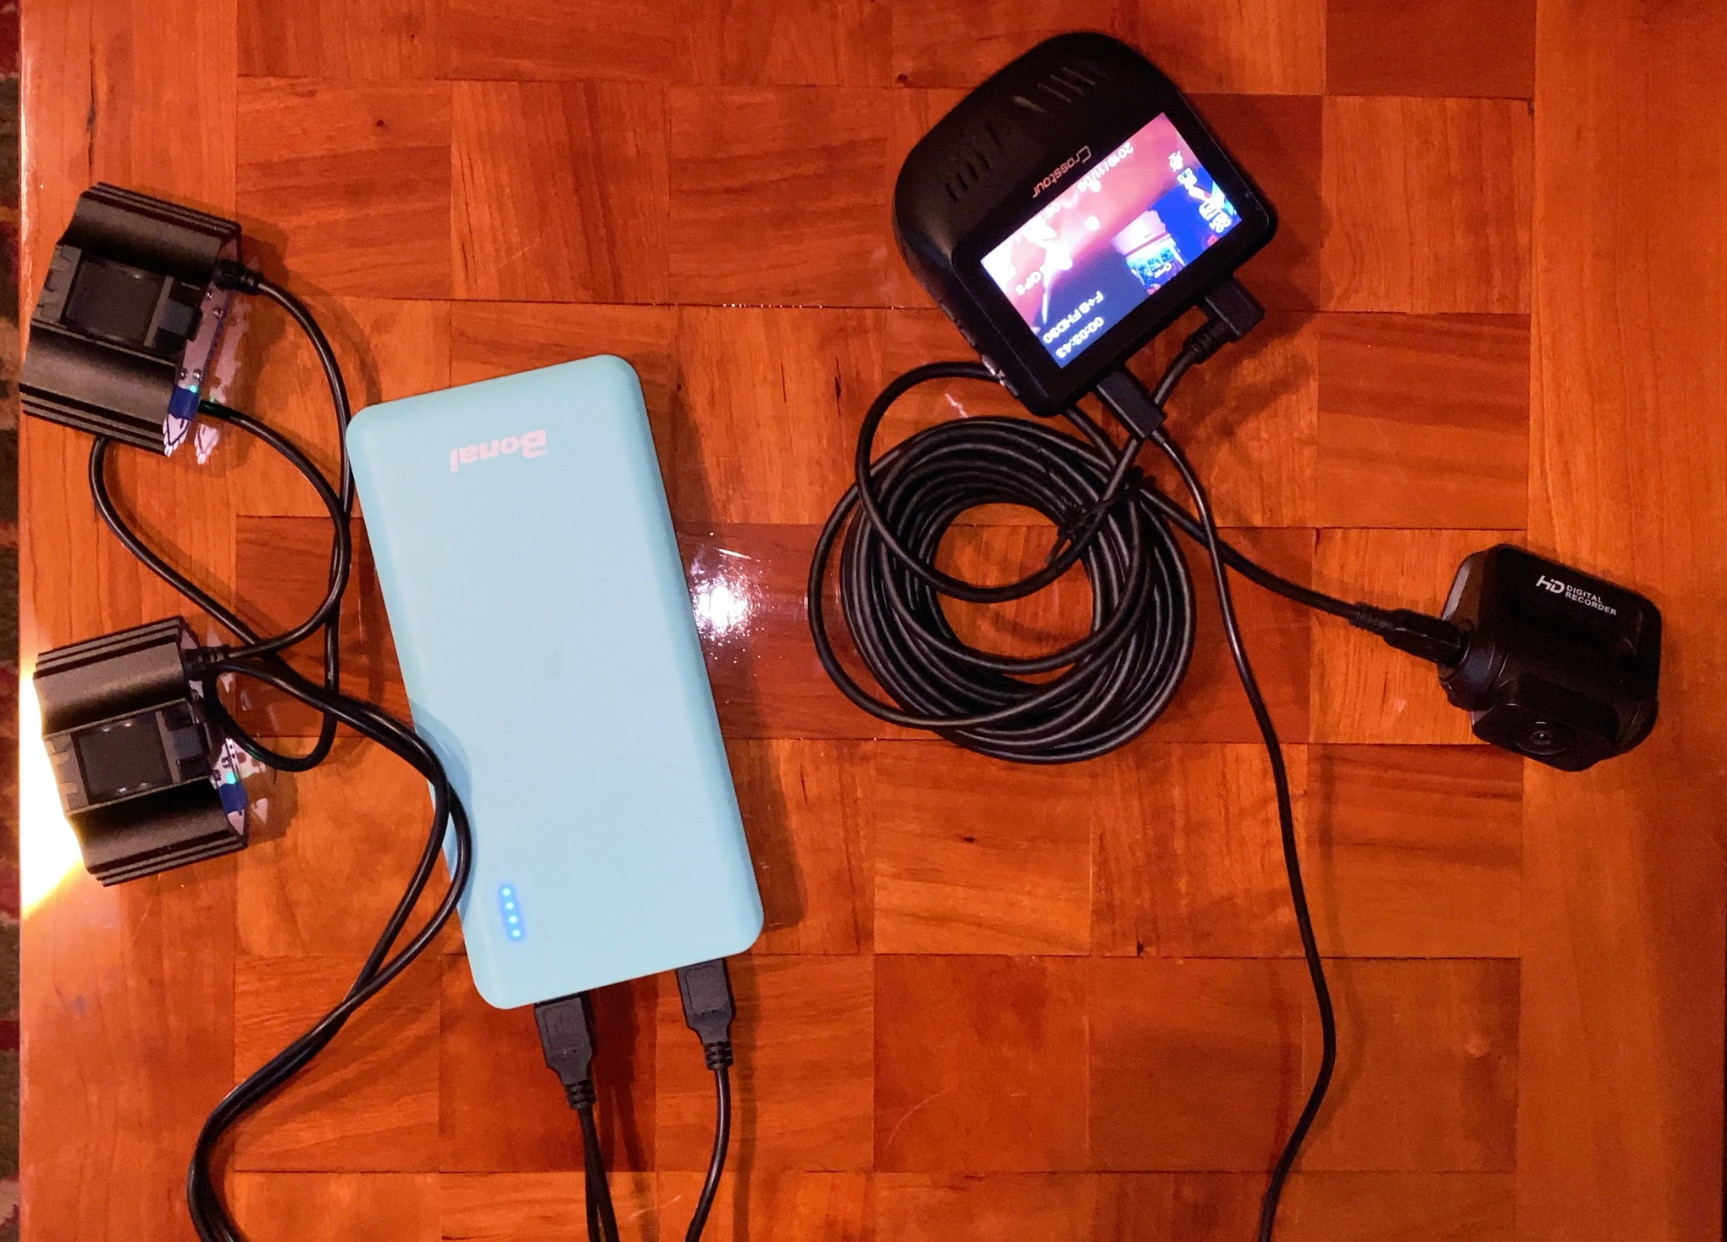
BILL OF MATERIALS
- 30,000 mah USB battery, $35
- Two USB powered LED lights $11 each (15000LM SolarStorm 3 x XM-L T6 LED 4 Modes USB Bicycle Headlamp Bike Light)
- Highly rated automobile security dash-cam $99 with
- 32GB SDHC card for dash-cam $8
- red gel lens for tail light $12 (?)
- waterproof glass case, $16 (?)
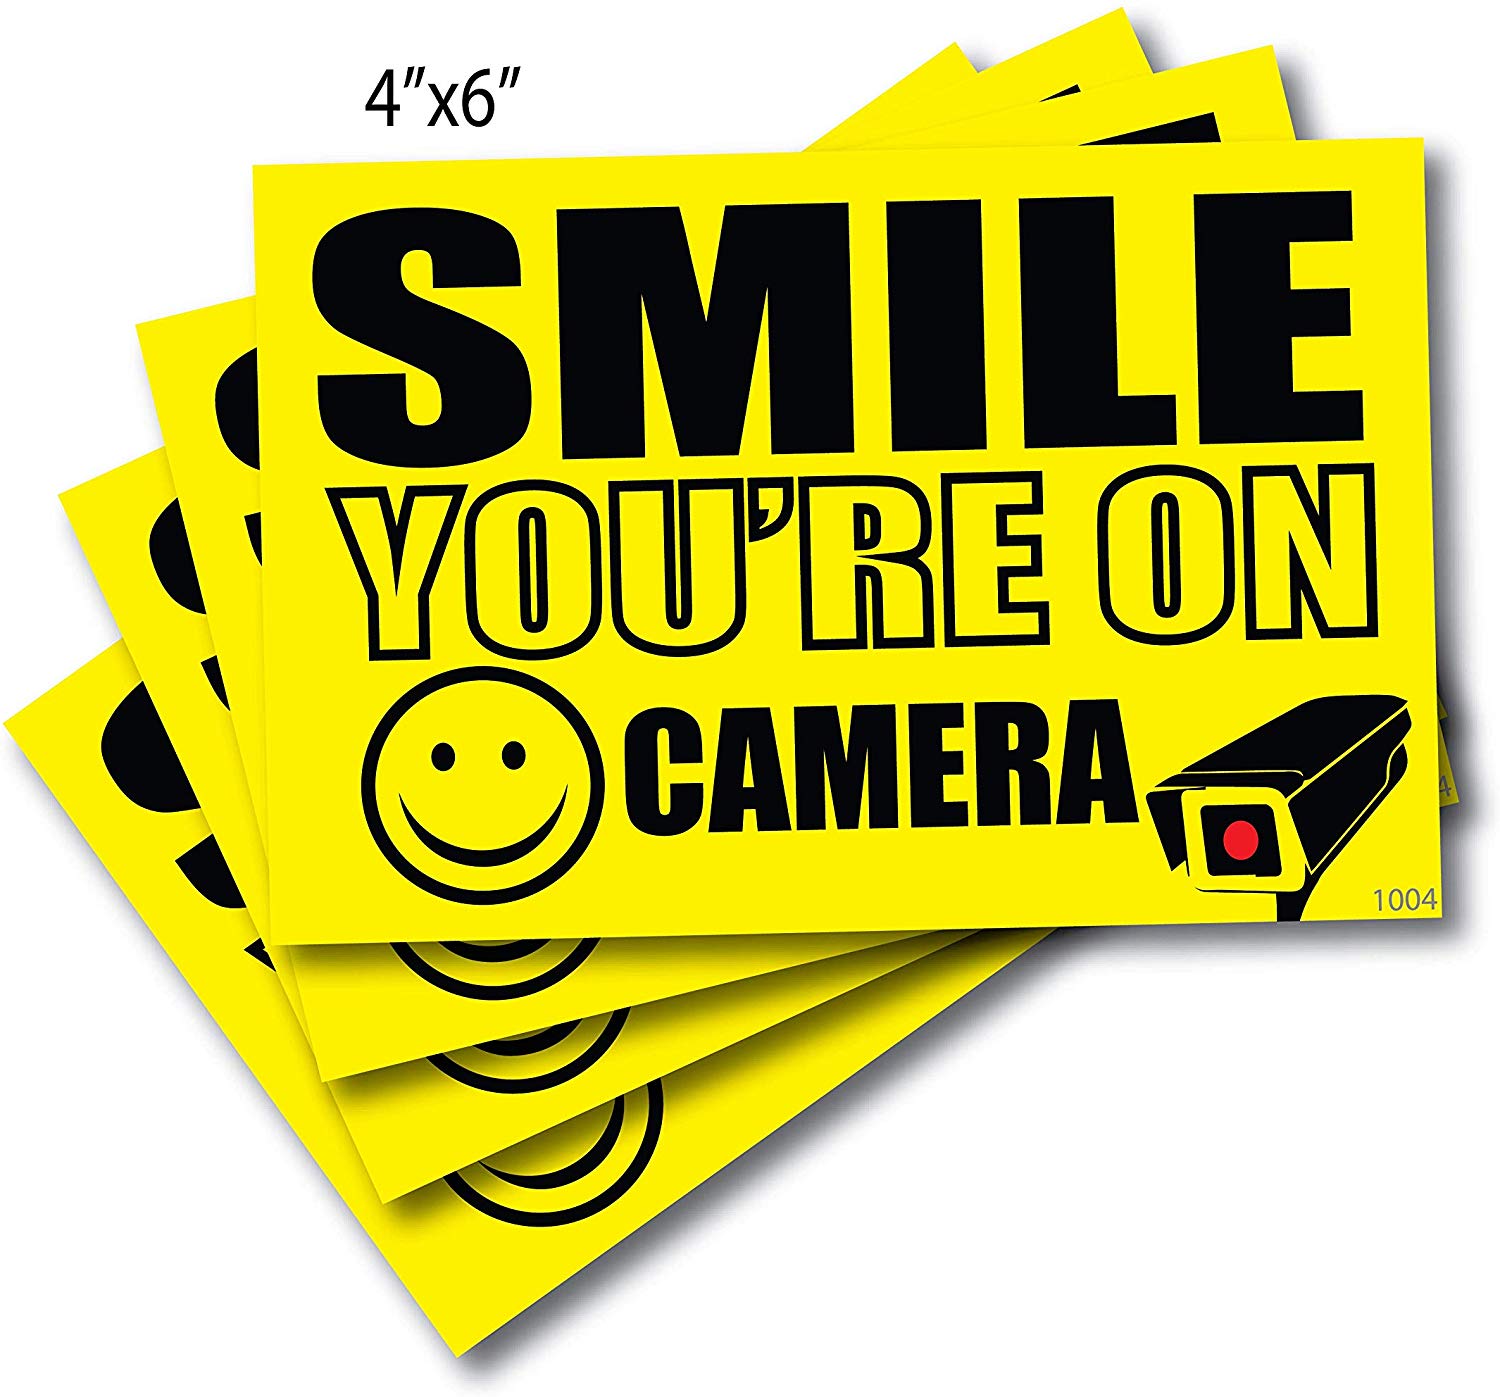
- “Smile you are on camera” signs, $8
Total price, $200
Construction
Ok, give me a few weeks to finish this. The basic idea is that this will mount on the rear rack of the bicycle on an arm that holds it out into traffic about 2′ so that the cameras get a clear view both forward and rearward. The battery and cameras will be inside the glass food storage container to protect against water and the lights will be mounted onto the plastic lid, one pointing each direction. The lights need to be outside rather than inside because of reflections and also heat dissipation. Although using glass rather than plastic seems odd, an optical clear container is required to film thru and honestly, if a car gets close enough that they hit the glass container, all the more dramatic video footage to show the police :)
The $6 sign that says “Smile! You are on camera” is an essential part of this system. After thousands of hours riding a bike in traffic, I can tell you that drivers behave a lot differently when they see the outline of a GoPro on a motorcycle helmet or a bicycle helmet. A car who is normally willing to risk an accident by passing me on a blind turn crossing a double yellow line will hesitate to do this dangerous maneuver when they know they are being filmed.